Centro-C Configuration
The DemoPad Centro-C can be easily configured from within the app. In order to do so, you first have to add it as a device. To do this open Settings > Devices tap Edit and then select Add a new Centro-C.
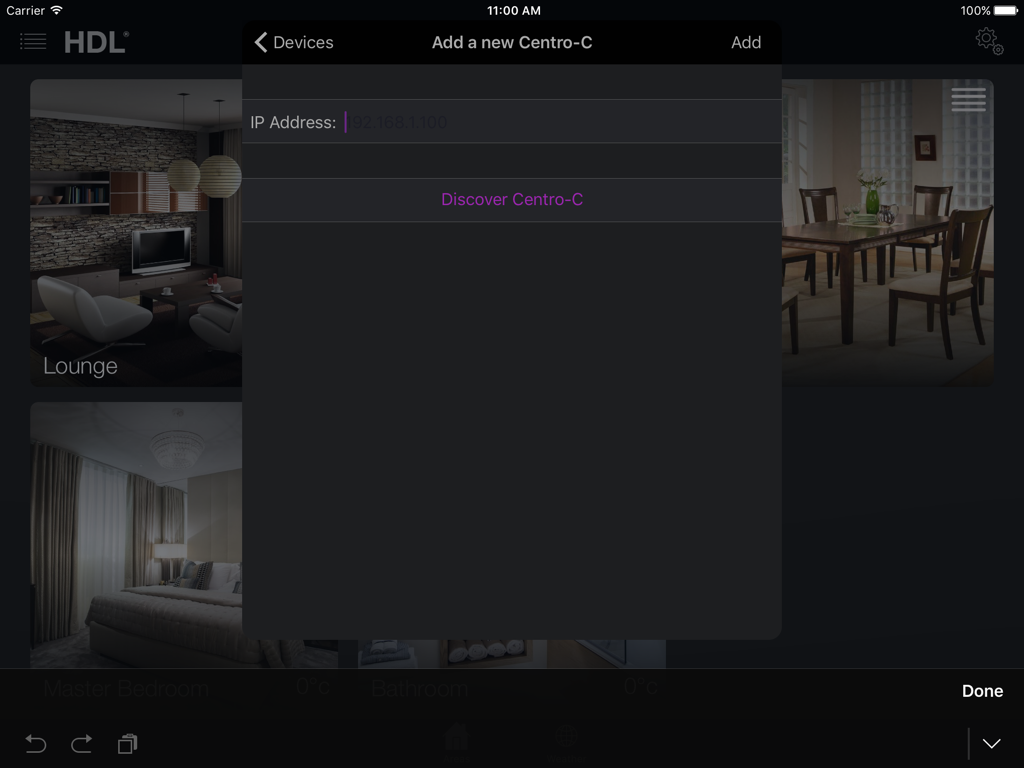
You can then either tap Discover Centro-C which should automatically populate the text box with the IP Address of the first Centro-C it found on the Network, or you can manually enter it's IP address if it is known.
To configure the COM Ports and Network of the Centro-C open Settings > Devices and select the Centro-C you added. Once selected you can then press Configure this centro.
Networking Configuration
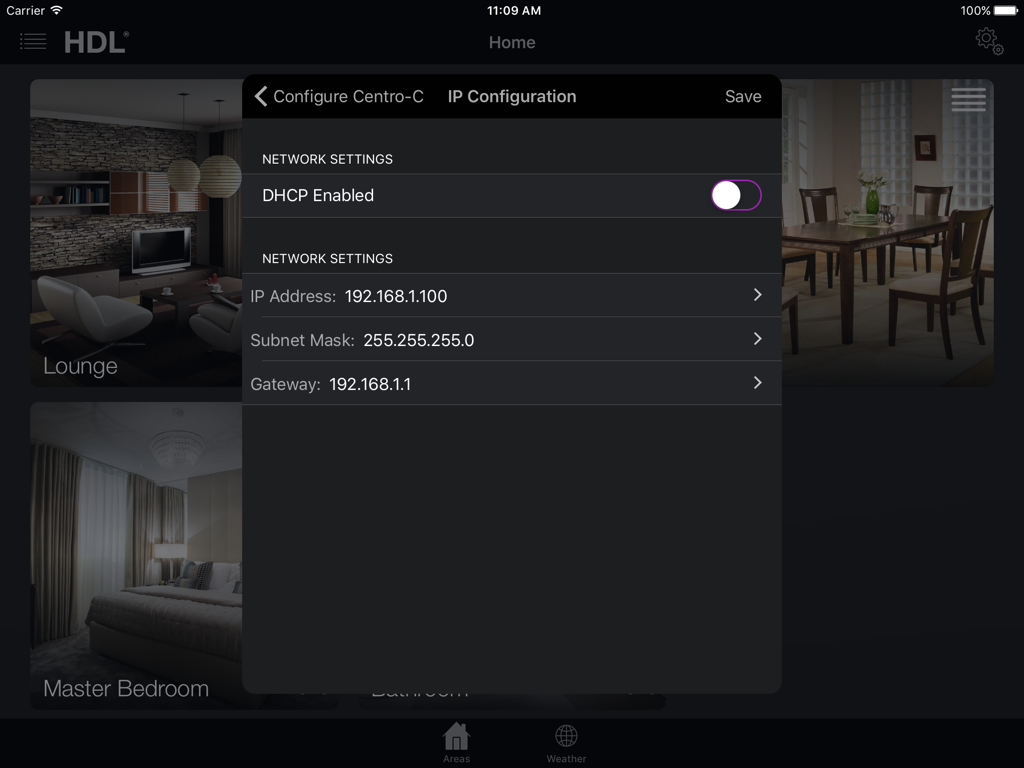
The Centro-C can be either set to DHCP Enabled or a static IP address. With DHCP enabled, providing there is a DHCP server on your network, the Centro-C will receive an IP Address automatically. As the DHCP assigned address may change, if enabled, each time the HDL System opens, it will scan the network and populate the IP address automatically. With DHCP disabled, the IP Address will never change and is the one you type in manually along with the Subnet Mask and Gateway address.
COM Port Configuration
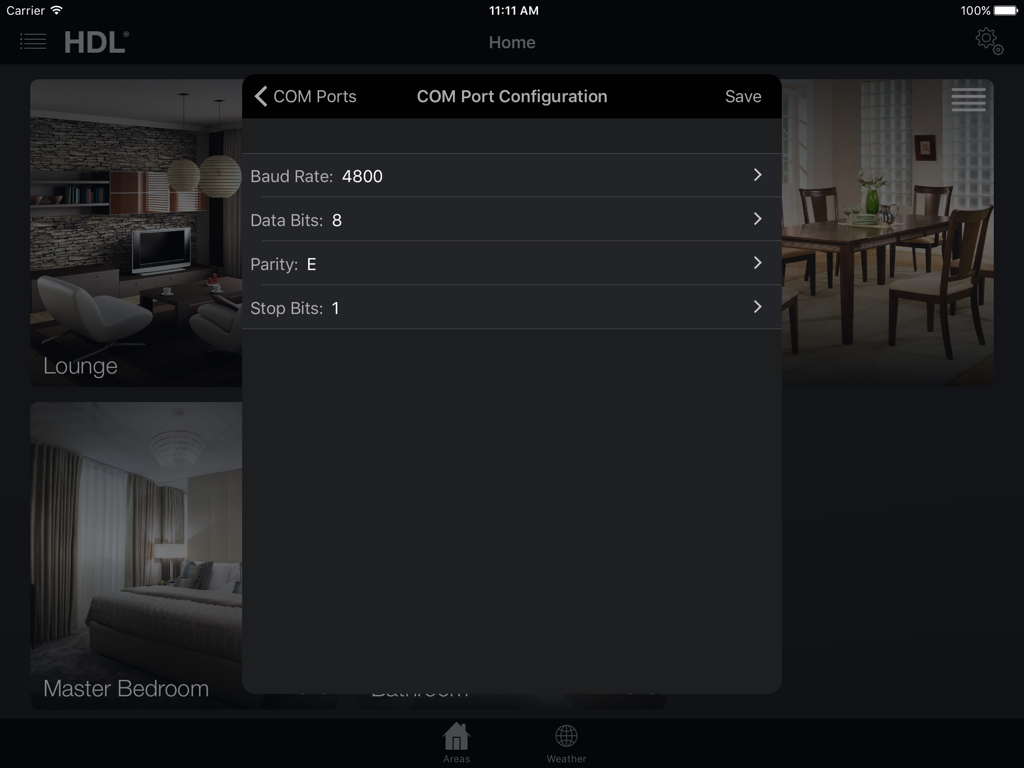
The 6 COM Ports on the Centro-C can be configured through the app too. Simply tap COM Port Configuration and then choose the port you wish to configure. The parameters you set will have to match the equipment you intend to control. Consult the manual of the equipment or contact the manufacturer for the correct parameters.